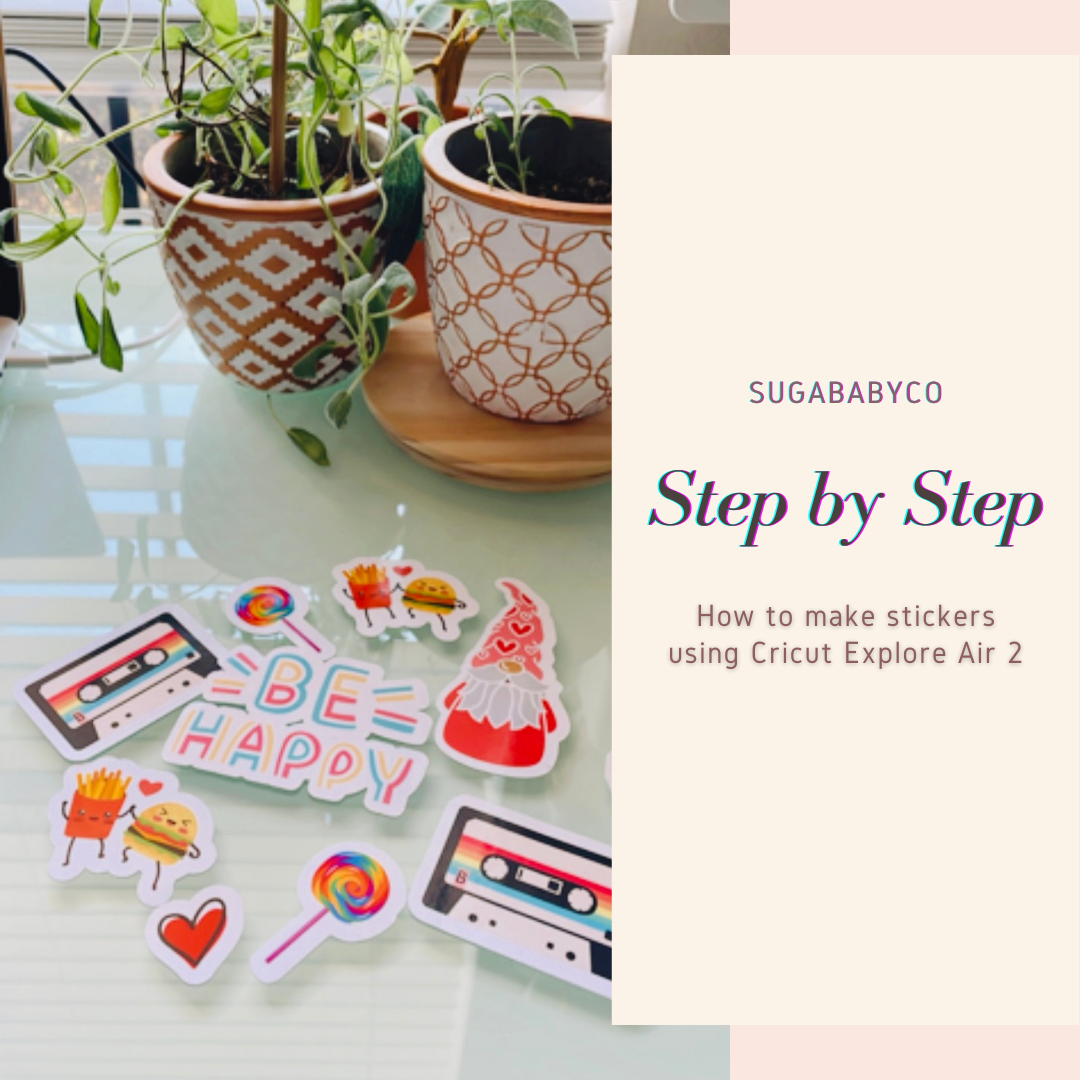
Making stickers using a Cricut Explore Air 2 cutting machine is really fun and easy! Follow each step as listed below!
Supplies
Cricut Explore Air 2
Sticker Paper
Color Printer
Light Grip Mat
Step 1
- Upload your image from external source via PNG file or create an image in Cricut design space. (We love to choose images included with the Cricut subscription)
- Select the chosen image and add an OFFSET (found in the upper tool bar of design space). Adjust the offset to 0.12-0.15 inches and SAVE. **make sure to change the offset color to white**
- Highlight both the primary image with the offset and click FLATTEN (bottom right tool bar). This will attach the image in the format best suited for cutting the sticker.
- Adjust the image to the preferred size
**OPTIONAL** create duplicates of the image by highlighting it and clicking DUPLICATE in the top right command bar in design space or by right clicking the mouse OR add other sticker images by following the previous steps**
- Once the sticker images are designed click green MAKE IT button in the top right corner of design space. This will route the image to the staging area.
- While in the staging area adjust your stickers to the desired layout and try to maximize as much print area as possible. (This may require a trip or two back to the design space to resize stickers)
- Once the staging is set as desired click CONTINUE and SEND TO PRINTER. This will create an output box for your assigned printer. Turn the bleed OFF and click USE SYSTEM DIALOG BOX (**NOTE** the dialog box may appear behind the screen**) click PRINT
- The dialog box for your printer will open. Make sure your color is turned ON and your paper type is set to “glossy” or “high quality” (however your printer reads for the higher quality/glossy paper)
- Load the printer with sticker paper and print
- Align the printed stickers onto your light grip mat
- Make sure your Cricut machine is turned on and on the proper cut setting (for full sheet stickers ATTACHED change your vinyl setting pressure to “less” or “light card stock”. If you want the stickers to be separate/detached use a higher cut setting like “card stock”.
- Load the mat into the machine and press the blinking load button that looks like a two sided arrow. The press the blinking Cricut button
- Once your items finish cutting, remove the mat from the machine and VOILA! Beautiful STICKERS!!!
Don’t forget to visit or social media pages for video tutorials!!!!
We really hope this tutorial was helpful! Follow us for more small biz tips and tricks!

